Introduction
Have you ever been frustrated by constantly forgetting passwords? Different websites and apps have different requirements for usernames and password complexity. Even if you use the same password everywhere, some sites enforce password expiration, and after changing it you have to remember yet another password. Over time your “same” passwords start drifting apart, and you often end up going through the password-reset flow.
I used to rely on Chrome’s built-in password manager. It’s convenient for website passwords, but it has some unavoidable drawbacks. First, it requires signing in to a Google account, which alone rules it out for most users in China. Second, there’s the cross-platform and cross-app problem: although Chrome runs on many platforms, it only works for websites, not for Android or iOS apps.
For these reasons, I recently found a new solution that solves all of the above perfectly and has far exceeded my expectations in daily use — an incredibly convenient password manager: Bitwarden
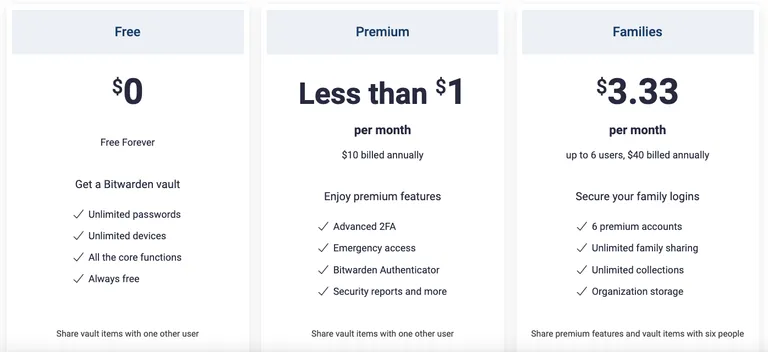
Bitwarden offers a free plan for individuals, which is plenty for everyday use; advanced features require a paid plan, priced as below. If you find it useful, consider supporting the developers.
Self-Hosting
I came across Bitwarden in the Docker image listings. Out of curiosity I set up an instance in my own Docker environment, and I’ve been hooked ever since.
On Docker it’s called Vaultwarden. Install and run it like this:
docker pull vaultwarden/server:latest
docker run -d --name vaultwarden -v /vw-data/:/data/ -p 80:80 vaultwarden/server:latest
Adjust the arguments as needed — mainly the directory for storing data and the mapped web port. Once the container is running you can reach the Bitwarden service by IP address and port. As the project notes, browsers such as Chrome don’t allow the crypto APIs on unencrypted connections, so you need to access it over HTTPS.
Admin Settings
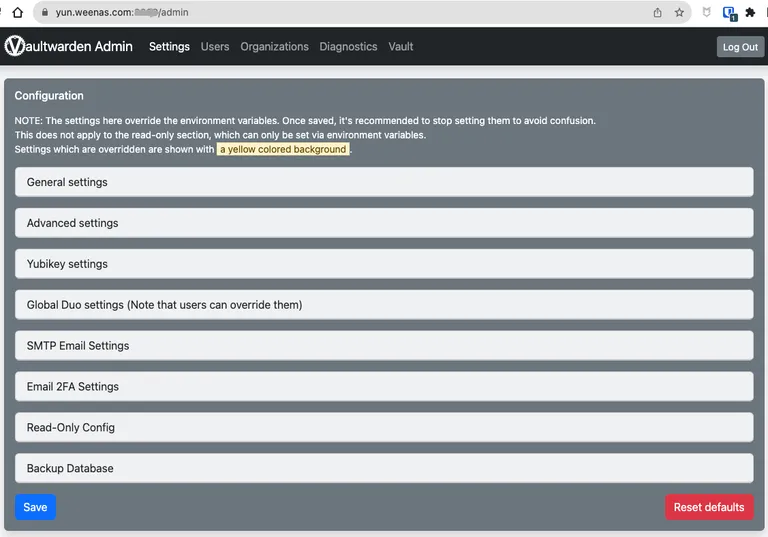
Before you start, you can open the admin panel to customize some settings, for example configuring an SMTP mail server, which is needed for email sign-up, two-factor authentication, important notifications and so on. The admin panel looks like this:
Registering a User
After configuring the admin settings, remove admin from the URL path to get to the user interface. Email sign-up is enabled by default. Create a personal account with your email address first; later, for security, you can disable new user registration in the admin panel.
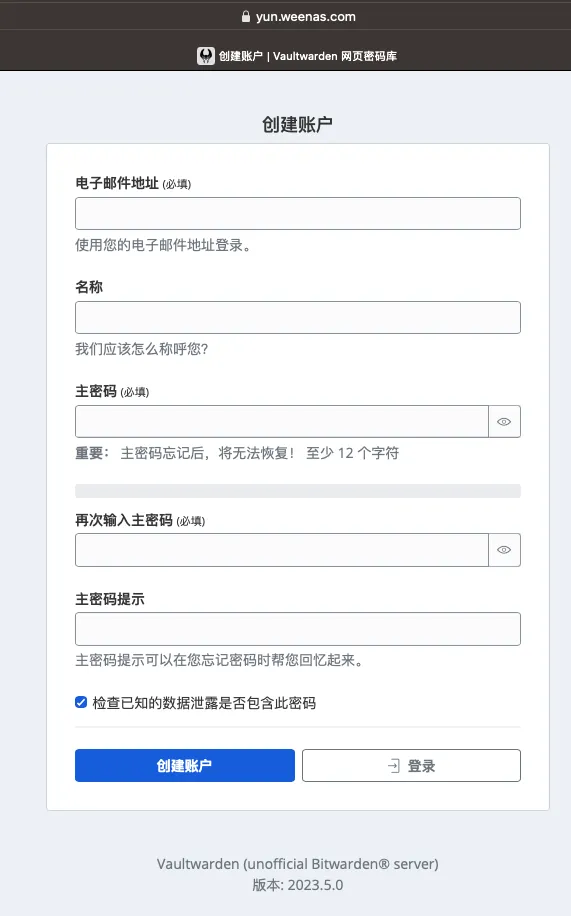
Click Create Account and enter your email address and master password. The master password is the password for the account itself — memorize it, since it’s the key to all your other passwords.
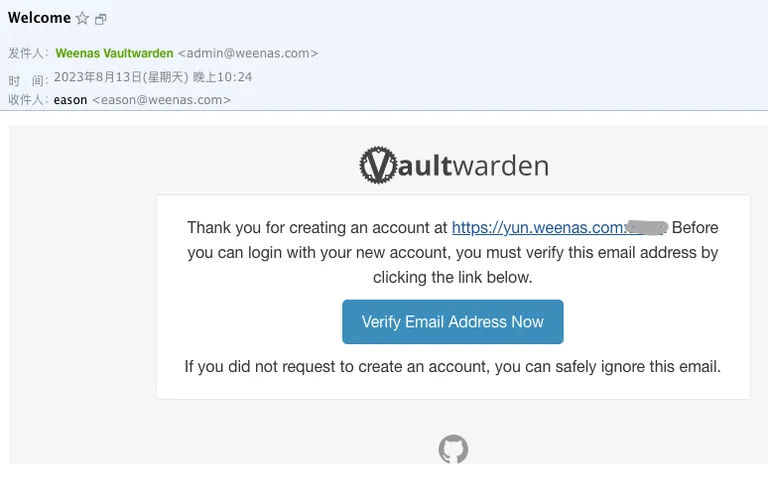
After the account is created, the system automatically sends a verification email through the configured SMTP service. The account can be used only after you click the verification link in that email.
Basic Features
After verifying your email, log in with your email and master password to see the main screen:
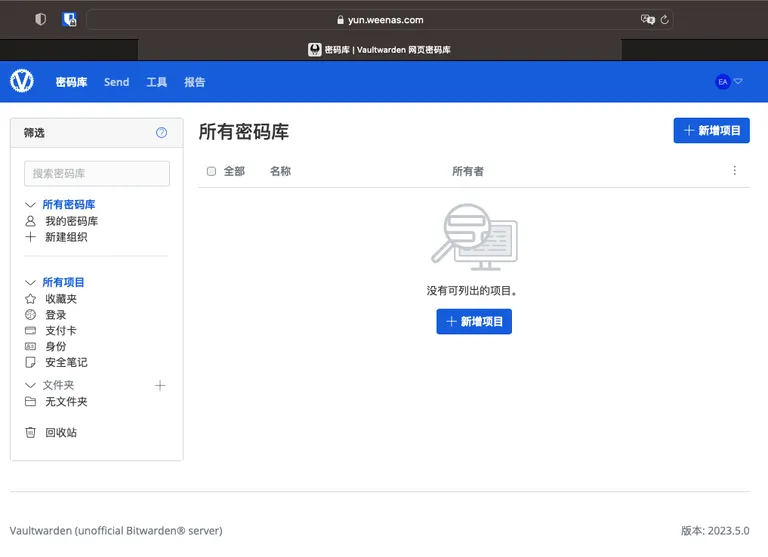
From the main screen you can get a rough idea of the main features: storing login credentials, payment cards, identities and secure notes — all highly private information. If you store a lot, you can organize items into folders so you can find them quickly when needed.
Besides your personal vault, Bitwarden also supports storing secrets per organization. For example, you can create a family organization to store secrets visible to all family members, as long as they’ve been added to the organization.
Bitwarden can also generate passwords that meet complexity requirements (length, number of uppercase and lowercase letters, digits and special characters). With this feature, I generate a different complex password every time I sign up for a new website, save it to the vault automatically, and have it auto-filled the next time I log in. I never forget a password, and every account is more secure — the best of both worlds.
Clients
Because Vaultwarden is fully compatible with the Bitwarden clients, its mature client ecosystem is one of its major strengths.